In times of austerity, there is no need for one to give up one’s favorite past time, which can favorite quickly become expensive if investing in specialized equipment.
Instead, in the spirit of the current trend for thrift, I have put together a ‘how-to’ for making a very popular piece of bondage equipment. I will be demonstrating how one can construct a bondage spreader bar, from materials easily and cheaply available from any good hardware store.
Materials Required:
 Broom/mop handle, or approx. 2cm diameter length of dowl.
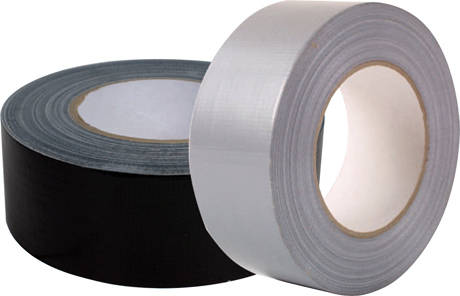
- Gaffer/duct tape.
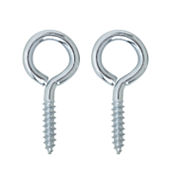
- 2x Screw Eyes
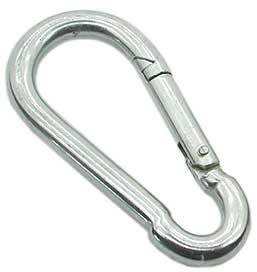
- 2x Carabiner or padlocks.
Additionally, a drill or bradel and some fine grade sand paper are needed.
Putting it Together:
To begin you need to cut down your broom handle/dowl to a desired length, although around 1.5m long should be fine for most people. Maybe a bit shorter for spreading legs and a bit longer for forcing arms outstretched. Once cut, sand down and rough edges.
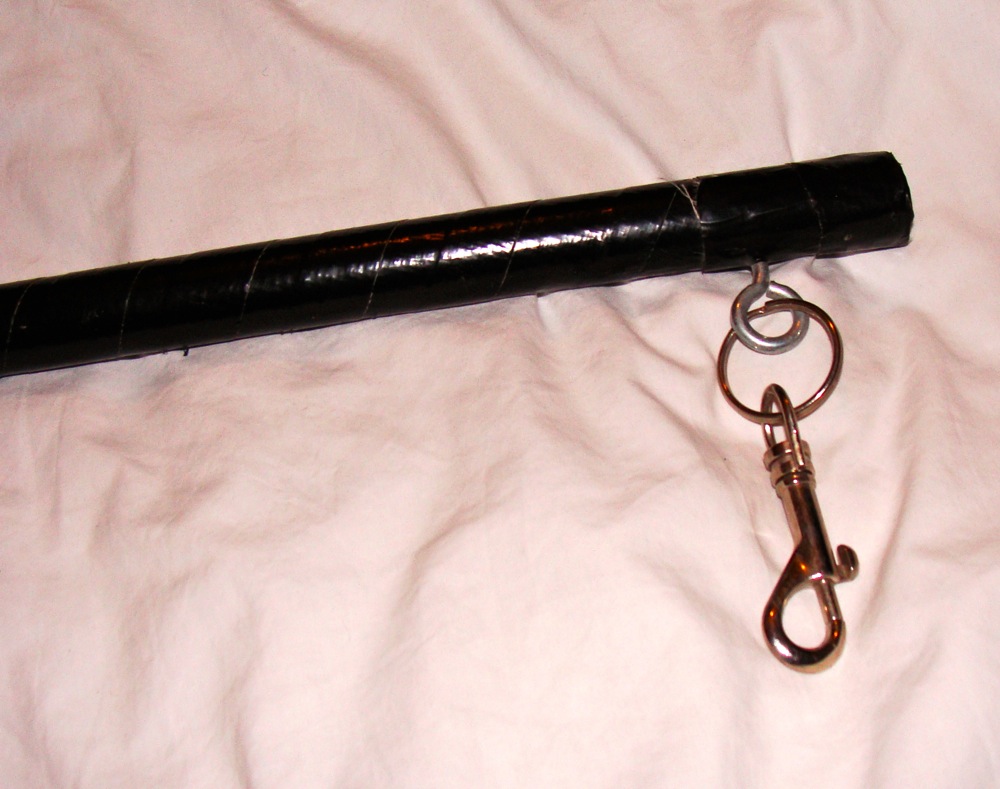
We will be using ‘Gaffer’ or duct tape to wrap around the bar, which gives it a nice black finish. Firstly, cut two short pieces of tape around 4-5cm and wrap over each end of the bar, folding down the excess tape along the length of the bar.
Secondly, starting at one end of the bar, wrap the tape around it at an angle, and slowly work your way along, overlapping the previous wrap as you go. Take it slowly and iron out any crinkles to ensure a good finish. To create a tidy end, wrap a short length of tape around the bars diameter at each end, to cover the ends of previous pieces of tape.
Thirdly, using a small drill bit (or bradel), drill holes about 3/4 of the way through the bar about 3-5cm in from each end. Screw each eye into these holes. Your drill holes should be just slightly smaller than the thread diameter of the screw eyes – too small and you risk splitting the wood; too large and the eyes will come loose. Do ensure that the screw eyes do not poke all the way through the bar, as they will be sharp and scratch your submissive or play partner.
Finally, use the carabiners or padlocks to attach the bar to your submissive’s wrist or ankle cuffs as required.

Tweaking the Design
The above guide will provide a basic design, which can be used as a basis to tweak and experiment with. Other things that you can try include:
- Adding a third screw in the center of the bar for attaching to your submissive’s collar.
- Different finishes can enhance the overall look of your finished work. Silver tape, waxed/varnished wood, gloss paint all increase the aesthetic value of the bar.
- One could leave brush head attached to broom, for the ultimate in ritual cleaning.
If you have any feedback or ideas, we would love to hear them in the comments.
Should I just buy it?
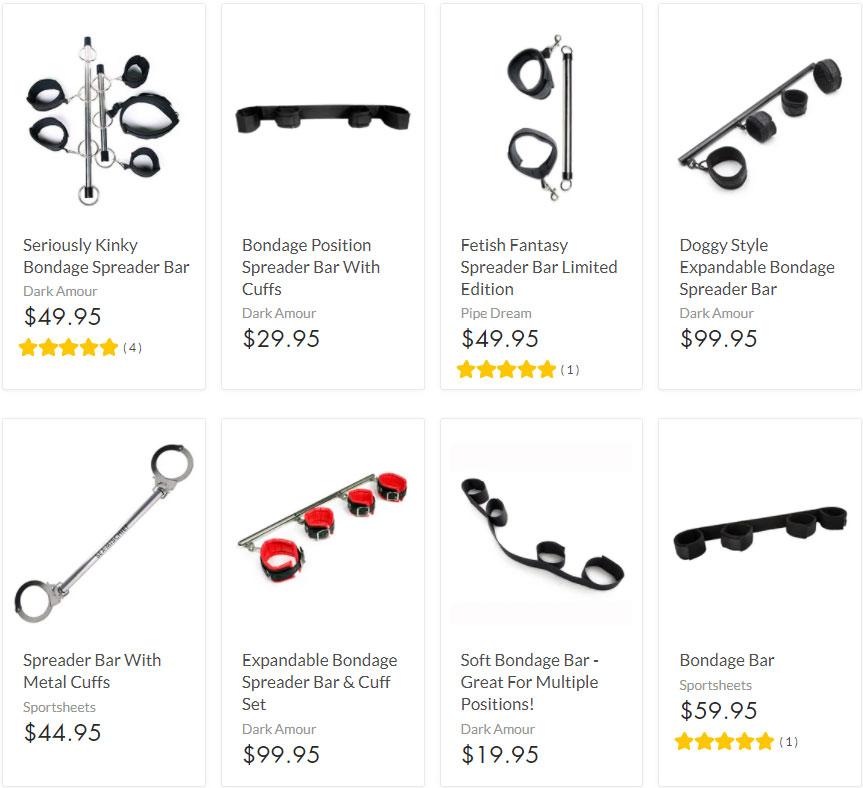
There are good reasons why you would want to make your own spreader bars, but there are also a lot of great products that don’t cost a fortune.
I love the stuff from Lovehoney and they have super friendly support if you need any help. You can check out their spreader bar selection in the link below.